Overview
The Google Cloud Storage (GCS) implementation for MASV Portal Automations joins our existing S3 and Backblaze B2 integrations and requires a similar configuration. You only need to create a set of credentials for MASV to access the GCS bucket and then enter the details into the Portal Automation settings. We are leveraging the Service Account entity in Google Cloud Platform (GCP) to accomplish this.
Creating a Service Account
Create a Service Account for MASV to use when connecting to the Google Cloud Storage (GCS) bucket to transfer files. You may limit the access of this account to a specific bucket(s) for transferring uploads from a MASV Portal to your GCS bucket.
To create a new service account:
-
Open the Service Accounts page in Google Cloud Console.
-
Click Select a project, choose your project, and click Open.
-
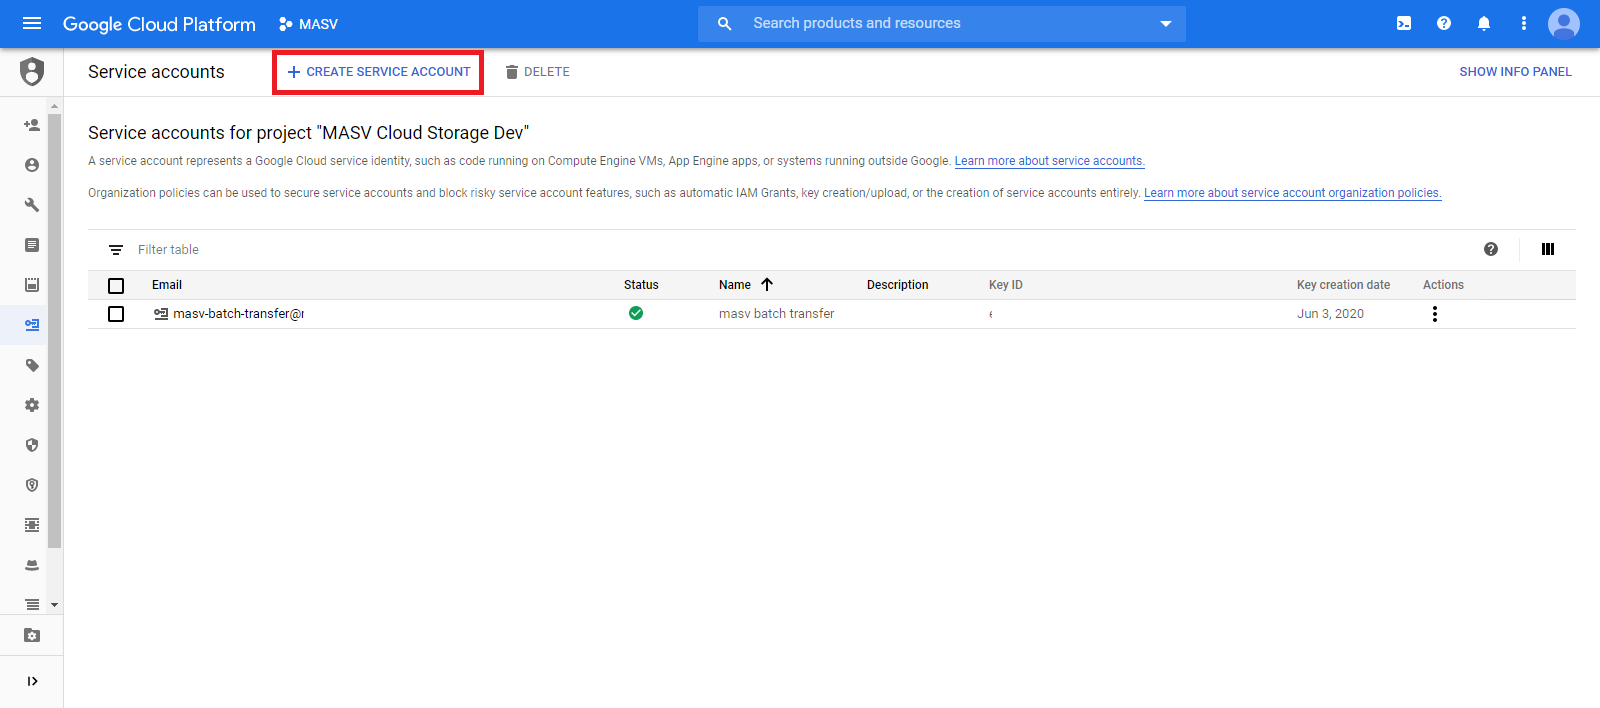
Click Create Service Account.
-
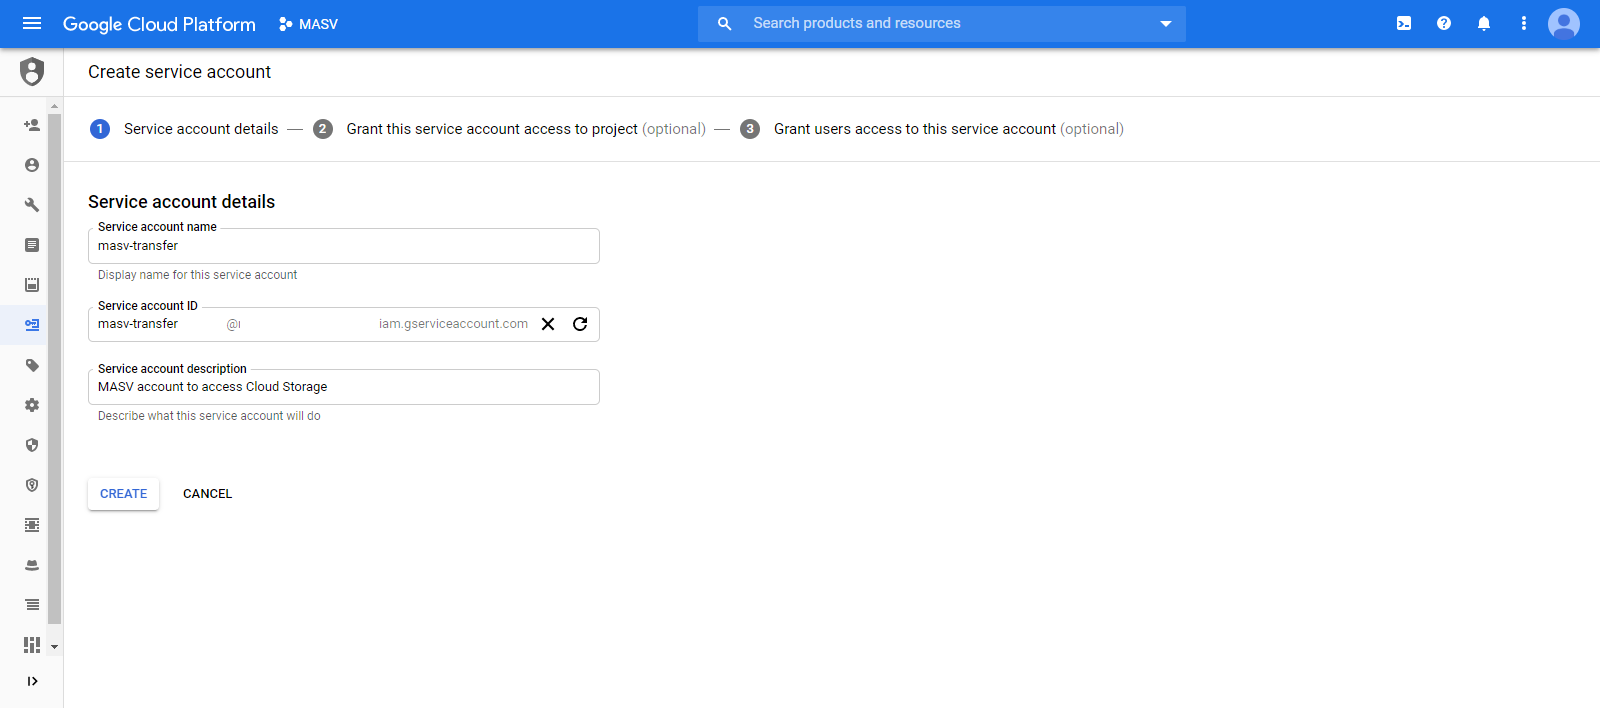
Enter a service account name (friendly display name), an optional description and then click Save.
-
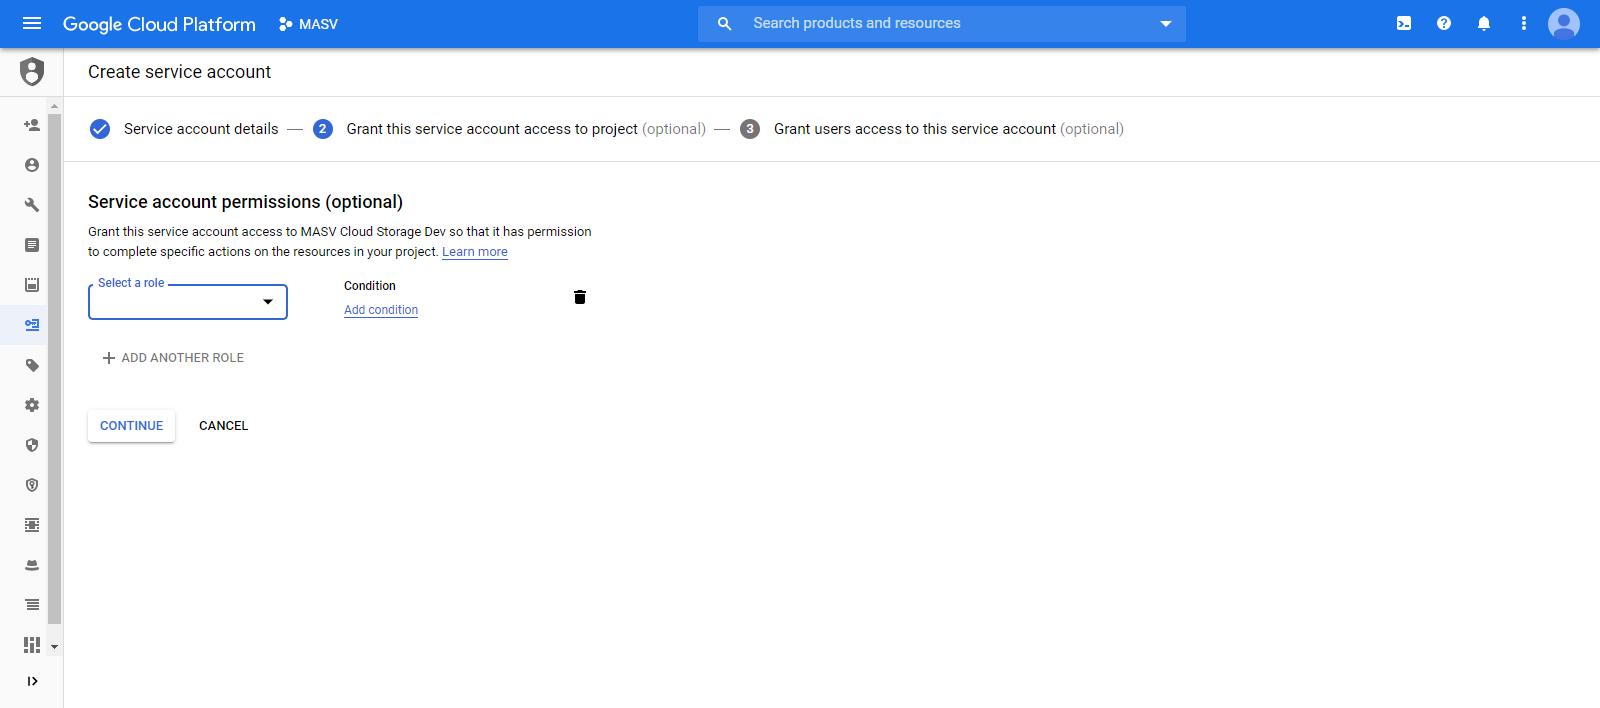
You may leave the role blank here and attach the specific permissions for this account later. If you grant Storage Object Admin here, the account will have full access to all your buckets.
-
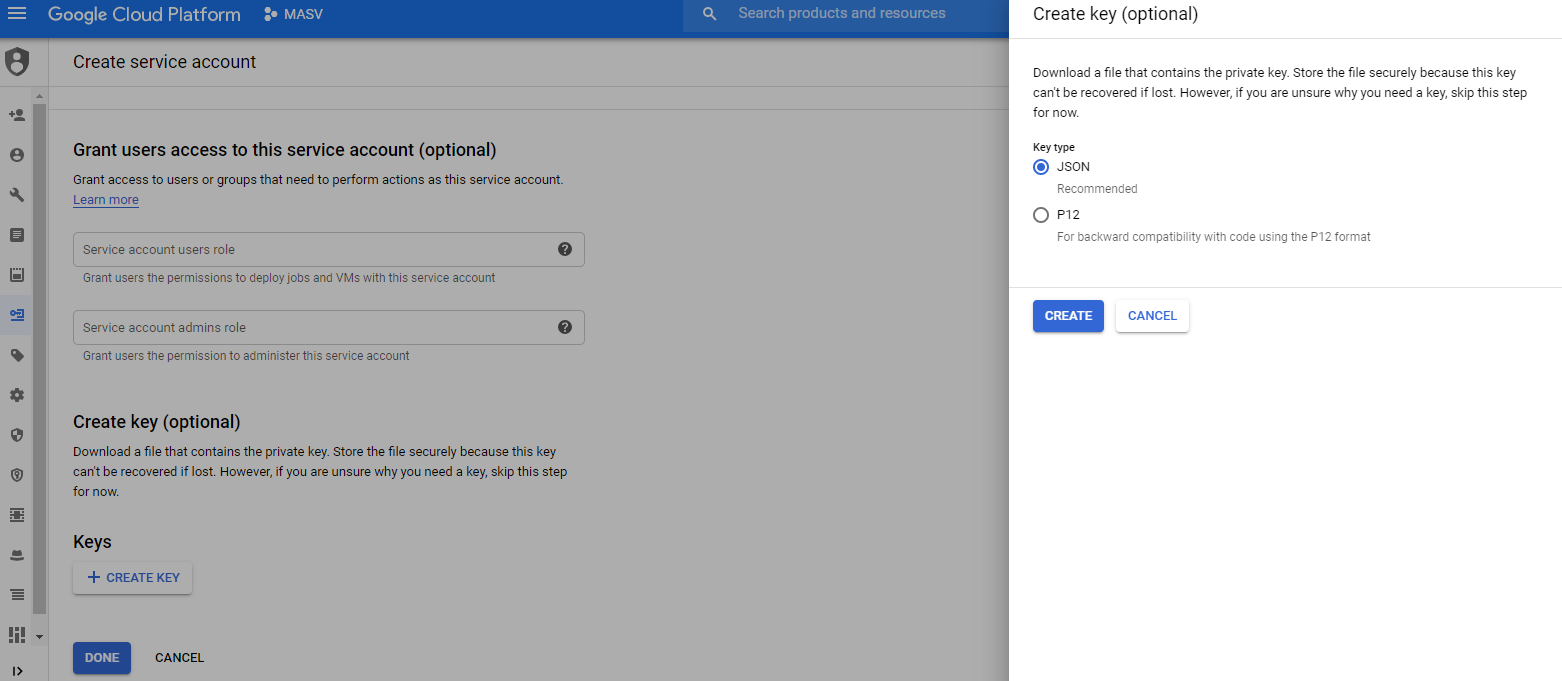
Create a key and download it in JSON format.
Creating a Bucket
You may use an existing bucket or create a new one. MASV will write all packages uploaded to your portal into a directory named Portal Downloads/<Name of Portal>/<Package Name>
To create a new bucket:
-
Open the Cloud Storage browser in the Google Cloud Console.
-
Click Create bucket to open the bucket creation form
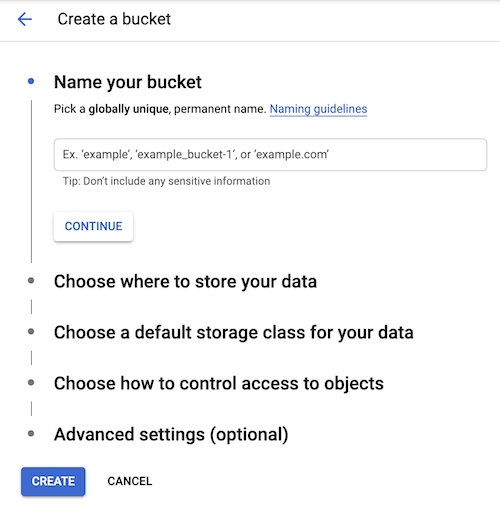
Enter your bucket information and click Continue to complete each step:
-
Specify a name, subject to the bucket name requirements.
-
Select a Default storage class for the bucket. The default storage class will be assigned by default to all objects uploaded to the bucket. Next, select a Location where the bucket data will be permanently stored.
-
Select an Access control model to determine how you control access to the bucket's objects.
-
Optionally, you can add bucket labels, set a retention policy, and choose an encryption method.
Granting access to a Bucket
You need to ensure that the Service Account created above will have the appropriate access to the bucket. MASV requires access to read and write objects in the bucket - this ensures that we can locate the Portal Downloads/<Portal Name> folder in your bucket and prevent any name collisions on existing packages (for example if 2 different uploads to the portal were called “My Files” we need to ensure that they appear separately in GCS) and then transfer the files. We do not require access to manage resources or the bucket itself.
-
Open the Cloud Storage browser in the Google Cloud Console and locate the bucket you want MASV to use and click on the name.

-
Next, click on Permissions.
-
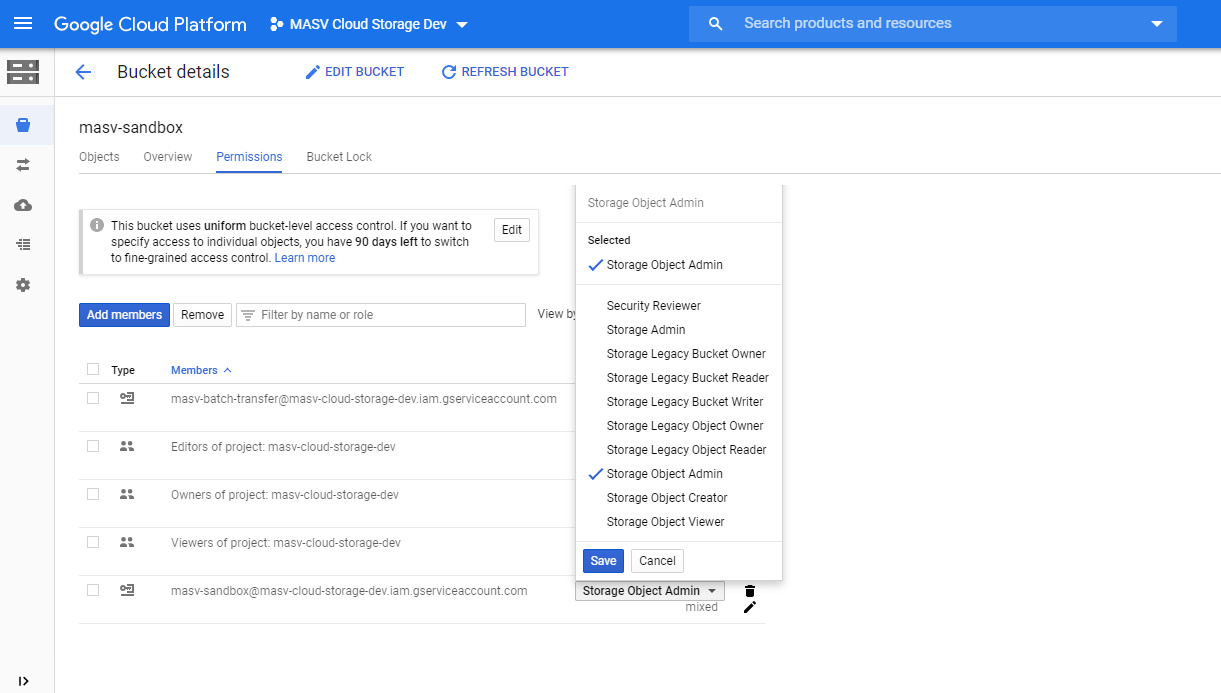
Locate the Service Account created earlier and expand the roles list.
-
Select Storage Object Admin - this will grant permission to read and write objects in this bucket.
-
Click Save.
You are now ready to configure your Portal Automation in MASV. You will need the JSON credential file from the Service Account you created above.
Connecting GCS Bucket To Your MASV Portal
Under Portal Edit Page, scroll down to Deliver To Cloud section and click Connect on the Google Cloud Storage card.
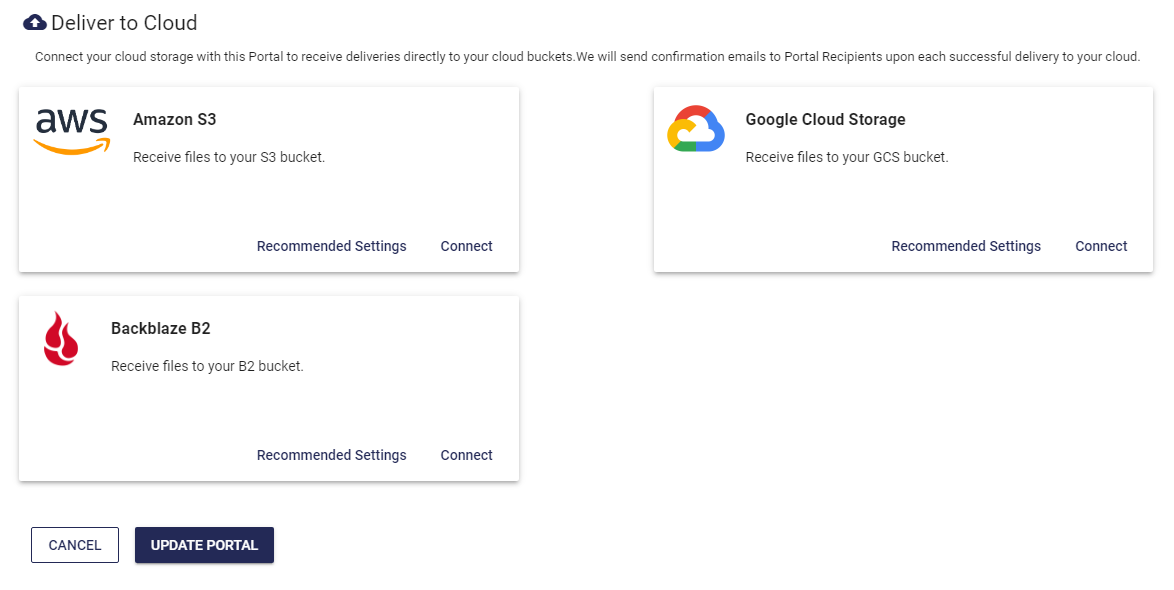
In the pop-up, upload the Service Account Key JSON file that you created in the steps highlighted above and write the bucket name in the field. Click Connect and your integration will become active.

As always, feel free to contact us at support@masv.io if you have any further questions.